Tube radios repair technology
If you want to repair and build your antique tube radio, there are a description of the repair technology, spent the years.

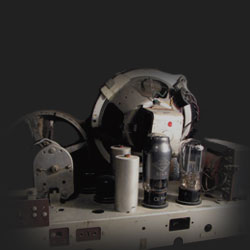
- Disassembly of the chassis.
- Removing dust and dirt from the chassis and radio components.
- Cleaning the variable capacitor and lamp panels compressed air at a pressure of 6 atmospheres.
- Removal of dust and dirt inside the case.
- Checking all the resistors for signs of overheating.
- Replacing all paper capacitors.
- Replacement of defective electrolytic capacitors.
- Checking the status/replacement of rubber grommets (rings) on the chassis.
- Check the integrity of the insulation/replacement of damaged equipment wires.
- Test/restore reliability of electrical contact points of the chassis ground.
- Checking/replacing the power cord and plug.
- Test/restore reliability electrical contact sockets mains fuse.
- Replacing blown bulbs lighting scale.
- Replacing worn or torn thread vernier scale devices.
- Cleaning and lubrication of variable capacitors and other parts of vernier devices, as well as moving parts of switches and toggles.
- Cleaning the switch contacts.
- Restoring contact runners potentiometers adjust the volume and tone controls to eliminate cod when adjusting.
- Data Checking/replacement of vacuum tubes.
- Checking the power supply.
- Check Modes of electron tubes.
- Full customization of the radio-frequency path, paths of intermediate and low frequency.
- Checking the speaker cone for signs of damage, misalignment of suspension, the integrity of the voice coil and the exciter coil.
- Checking the insulation resistance of the power transformer using megohmmeter.
- Outdoor enclosure cleaning, key switches and knobs controls.
- Setting the chassis body.
- Run for several days.
 Main
Main